How to pleach a michelia hedge
At EPIC Landscape Design, we believe in crafting outdoor spaces that are not only beautiful but also functional and reflective of your style. One of the timeless elements we often incorporate into our designs is the pleached hedge — a sophisticated feature that offers privacy, structure and seasonal interest. Stepping into our show garden, we’ve created a guide to trimming and training a pleached Michelia hedge.
What is a pleached hedge?
A pleached hedge is a “hedge on sticks”. Pleaching involves training trees to form a flat, connected screen above a clear stem. It's an elegant solution for creating privacy without sacrificing space, ideal for urban gardens in Christchurch and beyond. Want to block out your neighbours? This is the perfect solution!
Tools you'll need:
- Sharp secateurs.
- Pruning saw (for thicker branches).
- Hedge shears.
- Ladder (for taller hedges) – we strongly advise you ask someone to hold the ladder whilst you are using it.
- Gloves and eye protection.
How to grow and shape your pleached hedge
Please note: this guidance is based on Michelia, but can be transferred to other plant varieties. Get in touch if you’d prefer a 1:1 on-site consultation.
Initial training
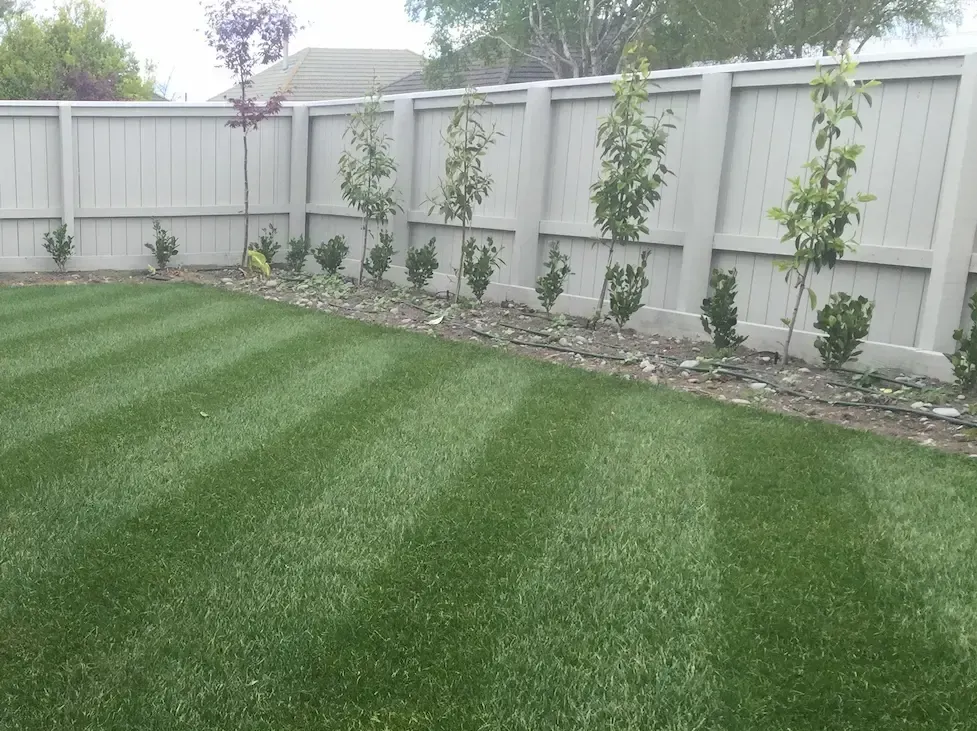
- Once your Michelia has been planted, let it grow (image below of young trees planted).
- Once the new growth reaches 200-300mm, pinch off the tips (the most recent growth, see example images below) using your fingers. By pinching off the growth tips, this will encourage new growth further down the stem, creating a nice dense bushy plant.


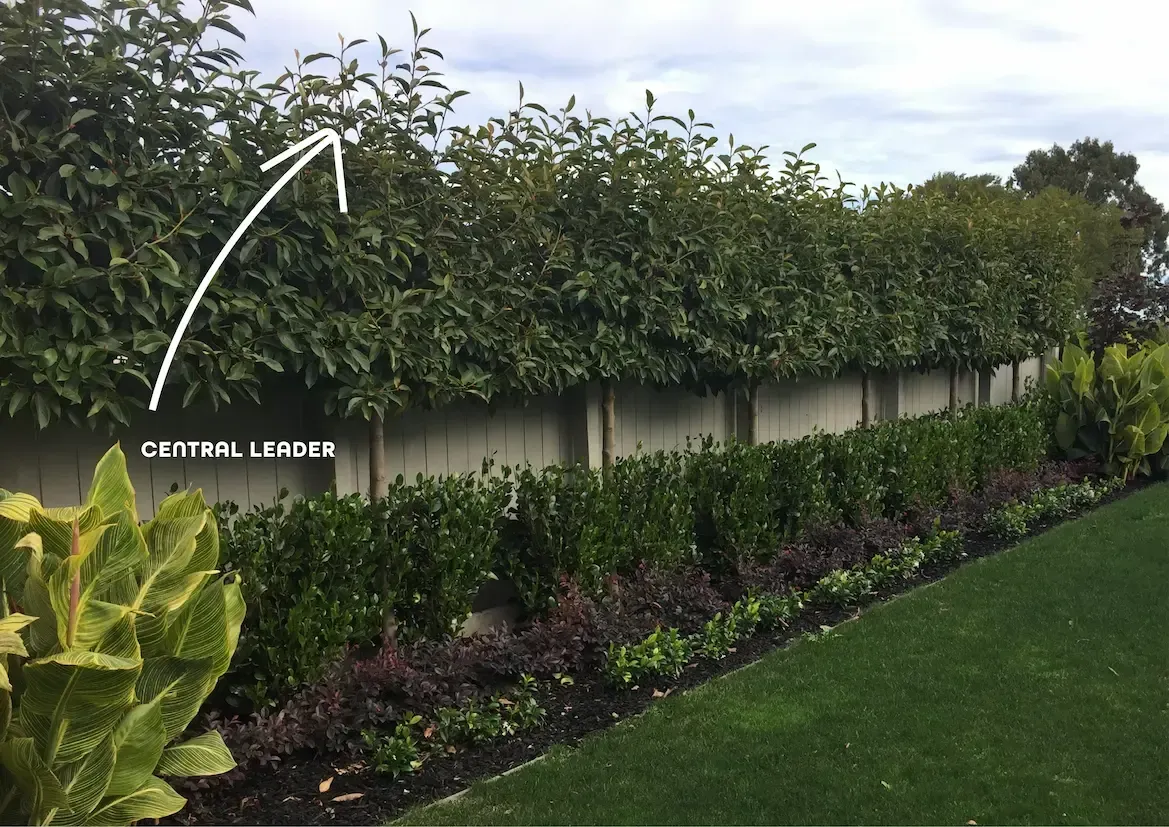
ESSENTIAL: make sure when tipping growth that you leave the central leader alone (the tallest stem) as this will ensure the plant keeps growing vertically.
- Repeat this process several times over the growing season (spring to autumn) and potentially the following growing season. Image below shows young Michelia after pinching.
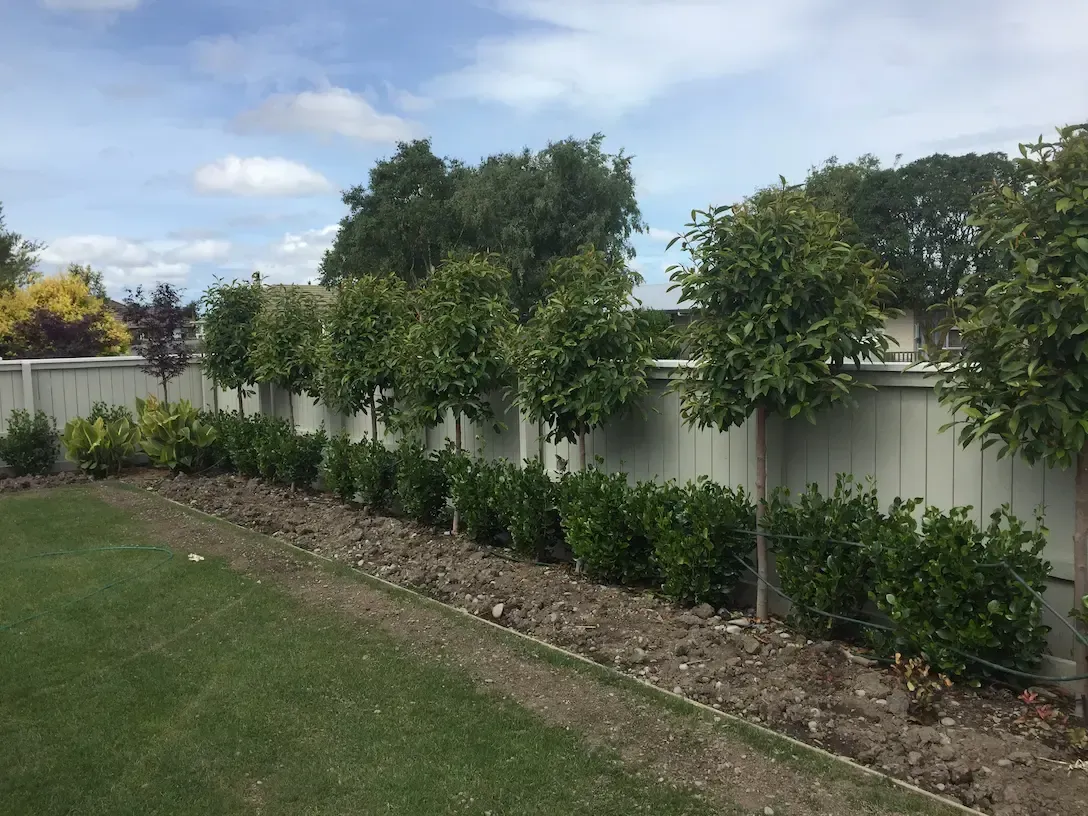
- Trim off lower branches as required to start getting the bottom of the pleach growth in the correct position. Normally one layer of branches per year will keep the ratio of trunk to head correct.
- After the initial tipping of the growth tips, you should have a nice and dense bushy tear dropped shaped tree (see example below).
Secondary training
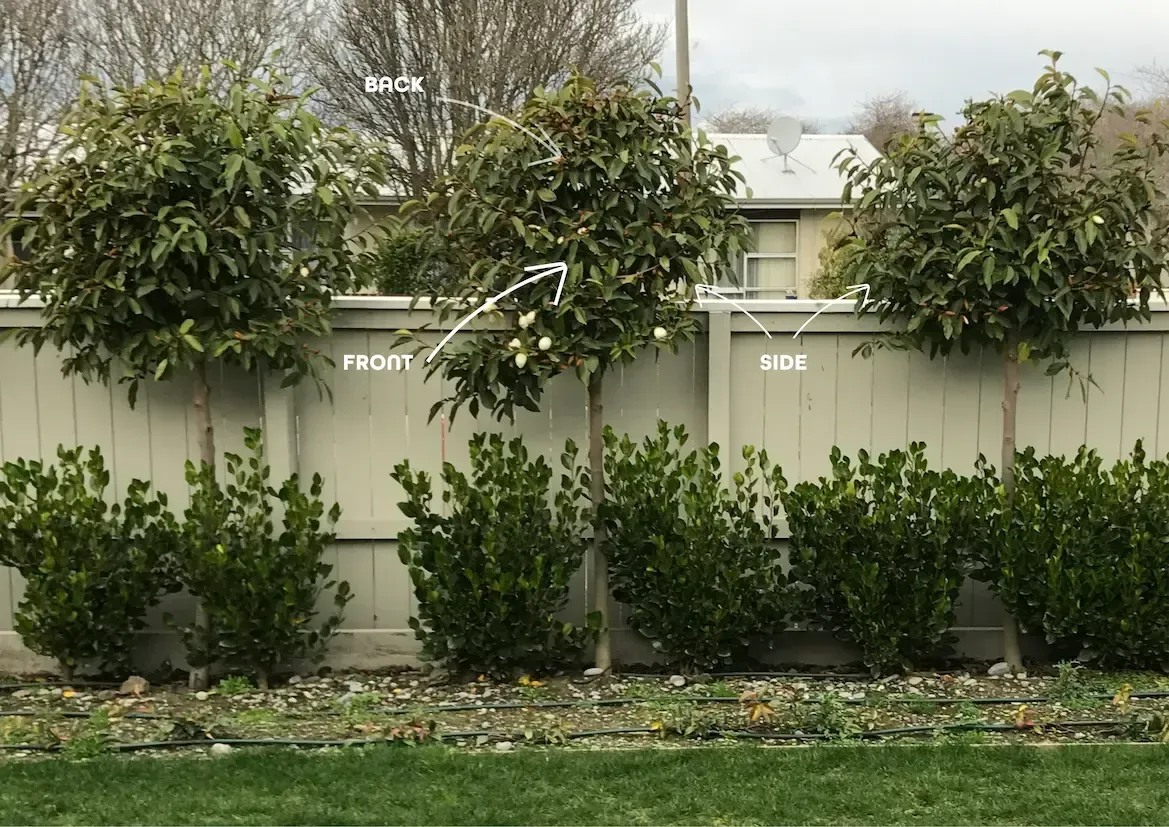
- Using your hedge shearers, trim the front and rear face of the trees to start creating the flat face of the pleached hedge. This will encourage the trees to start growing sideways.
- Continue tipping the new growth on the sides so you continue creating a good dense pleach (see image outline below).
- Once the desired height of your hedge is reached, it’s time to trim the central leader. This will further encourage more horizontal growth, filling the gap between the trees. See images below (the right image displays a flowering hedge during spring).

Final training
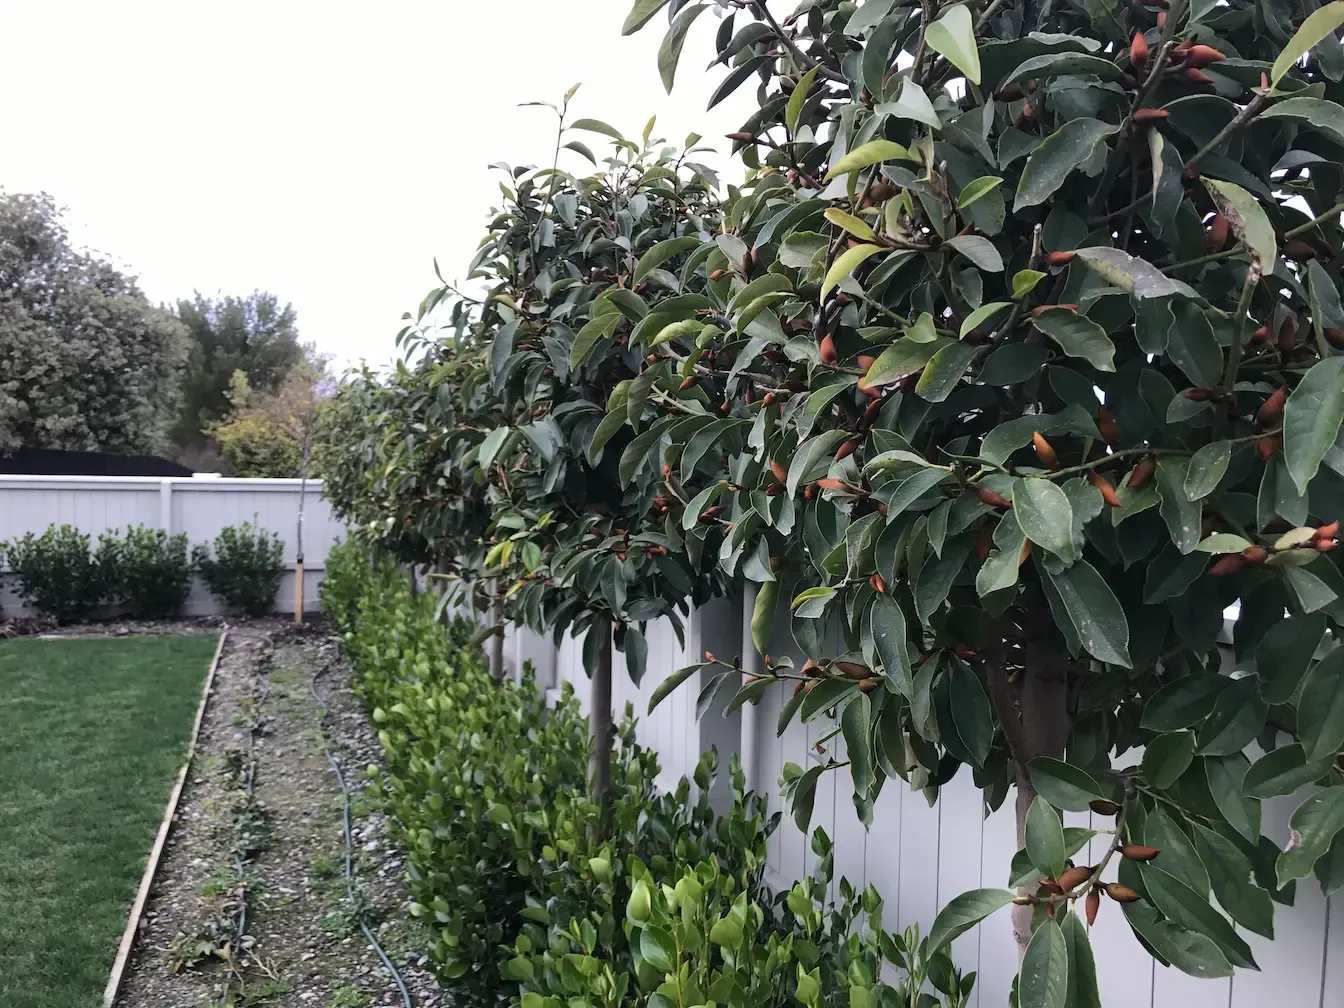
You’re almost there! After secondary training, your pleached hedge should be touching and you should have created a good visual screen.
- With your cleaned and sharpened hedge shearers, trim your pleached Michelia twice a year to maintain a great and dense form. We recommend you trim your Michelia pleached hedge on either side of Labour weekend, or after flowering. This trim aims to tidy up the vigorous spring growth.
- The next annual prune should be around Waitangi weekend. This will tidy up the summer growth and ensure your hedge looks good over autumn and winter.
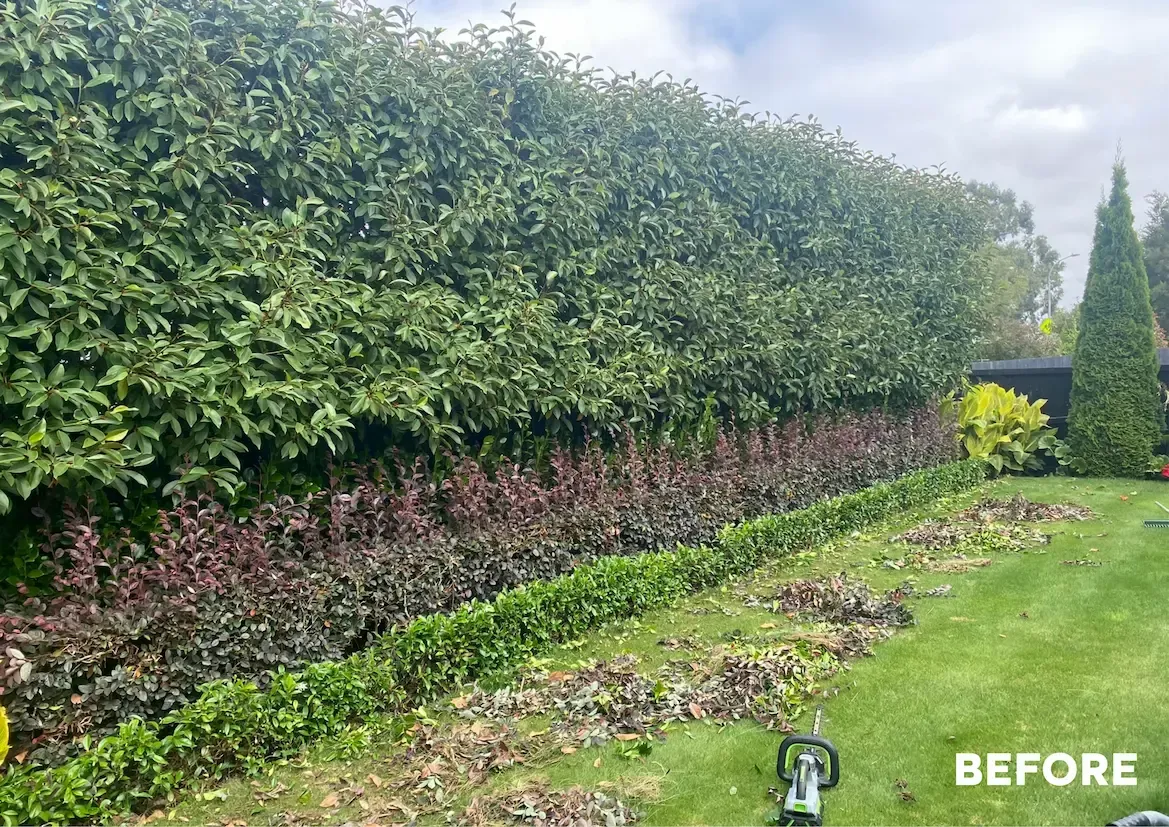
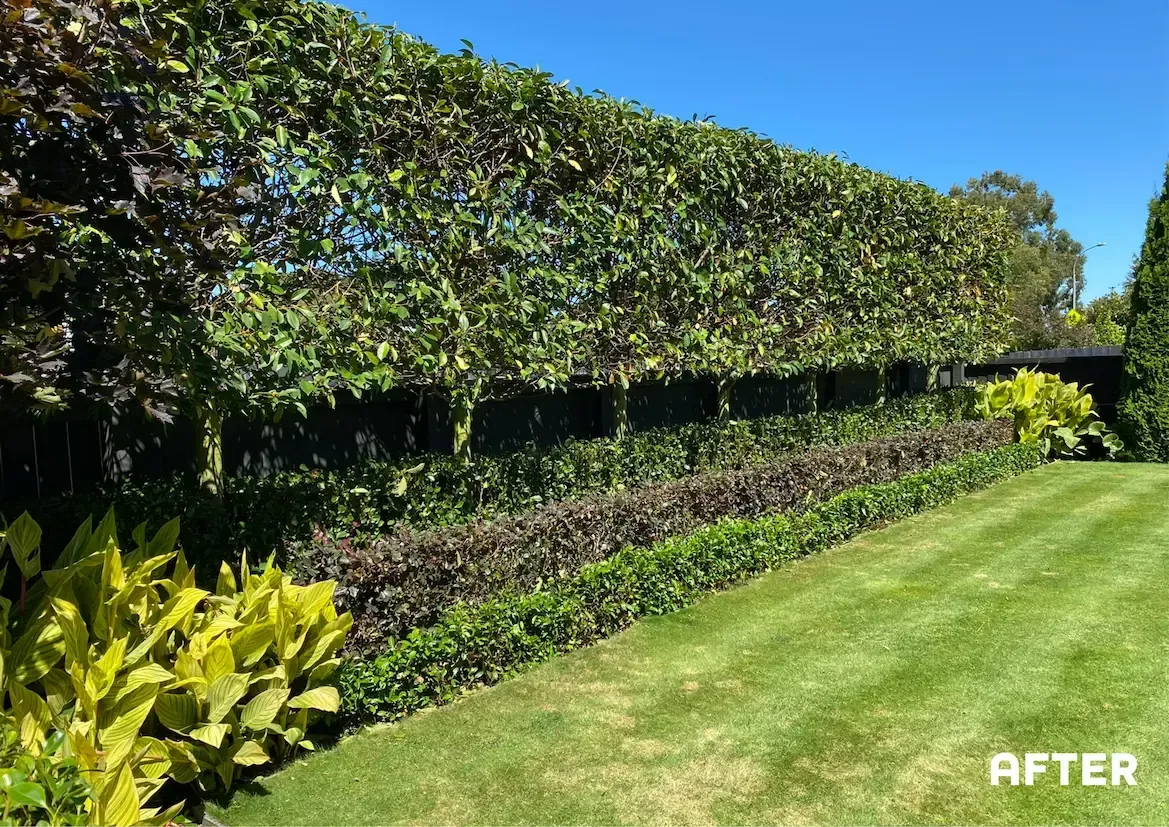
ESSENTIAL: Ensure you trim your pleached hedge by early February, otherwise you will remove the flower buds for the following spring (see example before, during and after images below).

Maintenance advice
Maintain the base and trunk
Regularly remove suckers or unwanted growth from the base. Monitor for pests or diseases, especially in tightly interwoven branches, and keep the lower trunk clear to preserve the pleached appearance.
Regular trimming and pruning
Continue training and pruning each year to maintain the form and prevent overcrowding. Trim back soft growth, keeping the front and back vertical and the top flat. Remove any growth on the trunk below the pleached frame and cut back to 2–3 buds from the main structure to maintain density.
Feed regularly
Michelia are heavy feeders, especially during their prolific flowering period. We recommend fertilising them three times a year with a high iron fertiliser. Aim to feed in late winter to early spring, around Christmas and again in mid-autumn.
Tips for success
- Select and plant appropriate trees: choose specimens that are suitable for pleaching. Ensure the branching is balanced and the trunk is straight. Plant them in a straight line, spacing them approximately 1.5 to 2 metres apart, or as specified in a planting plan (which we can design).
- Begin training young: young branches are more pliable and easier to shape.
- Interweave or espalier the branches: depending on your design preference, either interweave the young, flexible branches between trees to create a solid screen, or train branches horizontally in an espalier pattern along the support structure.
- Ensure newly planted trees are well-watered until established.
- Avoid over-pruning in the initial years; focus on shaping and training.
- Consistency is key; pleached trees require annual maintenance to retain their form.
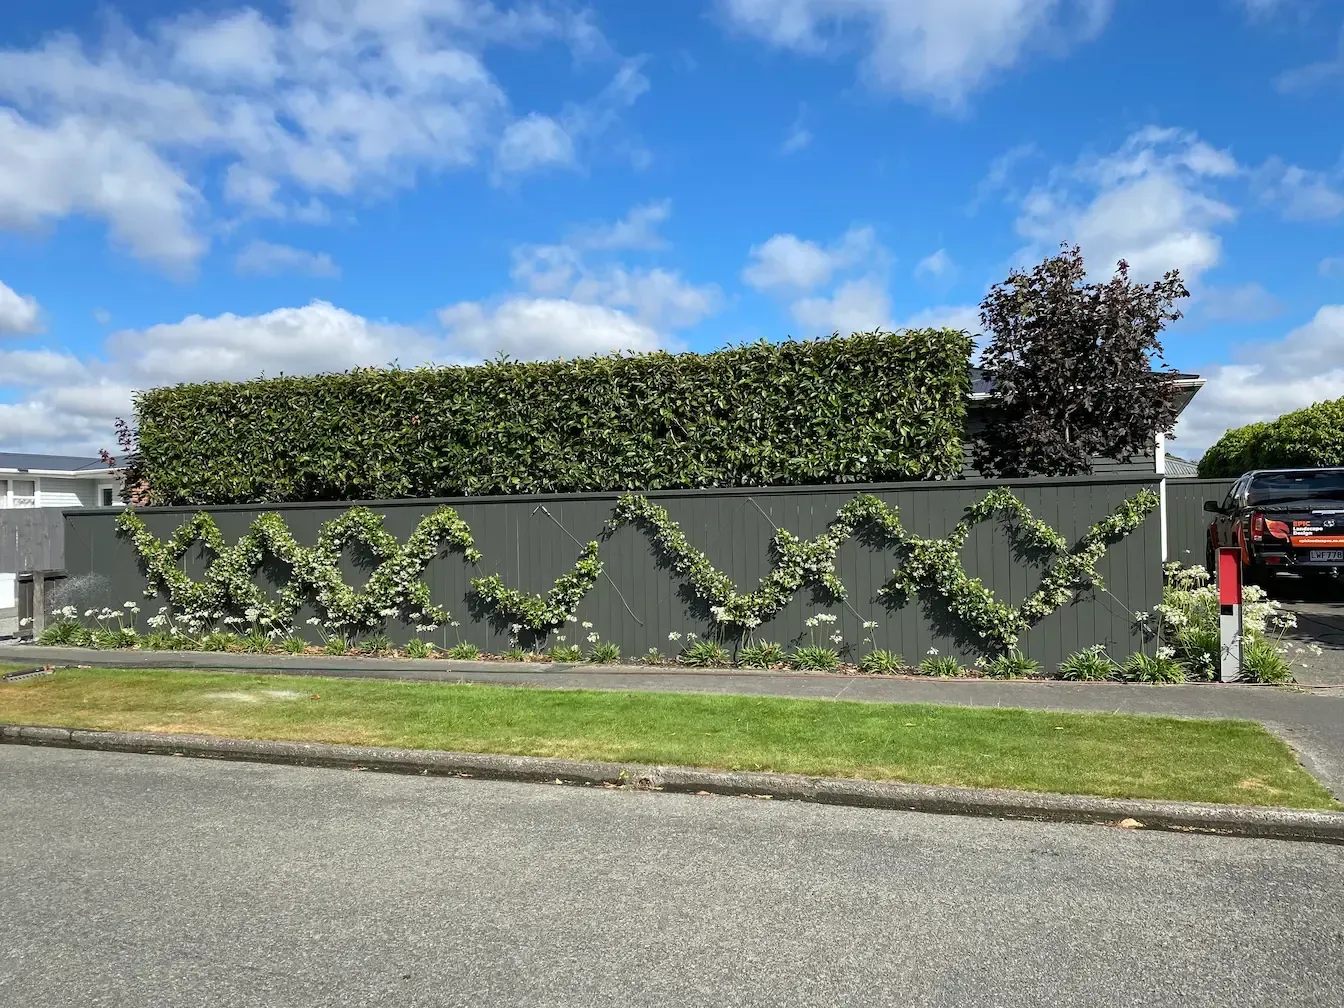
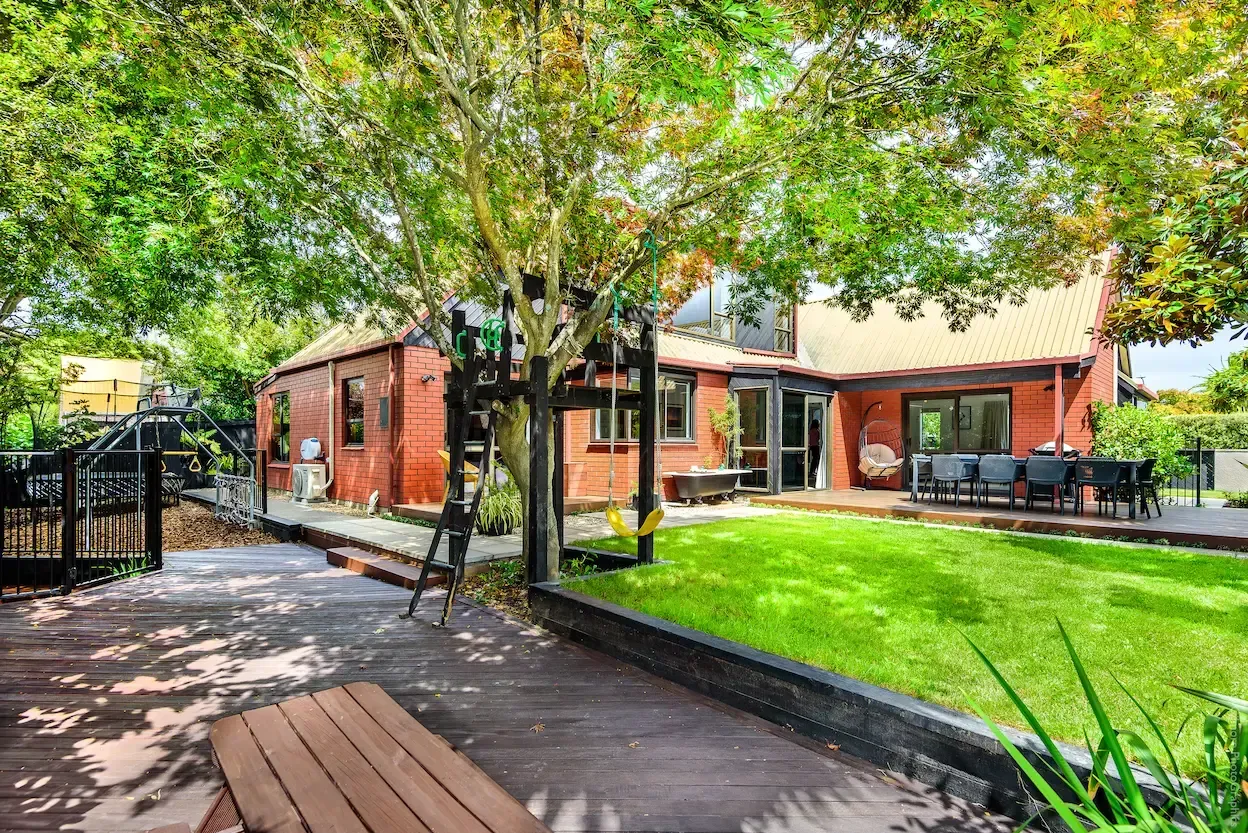
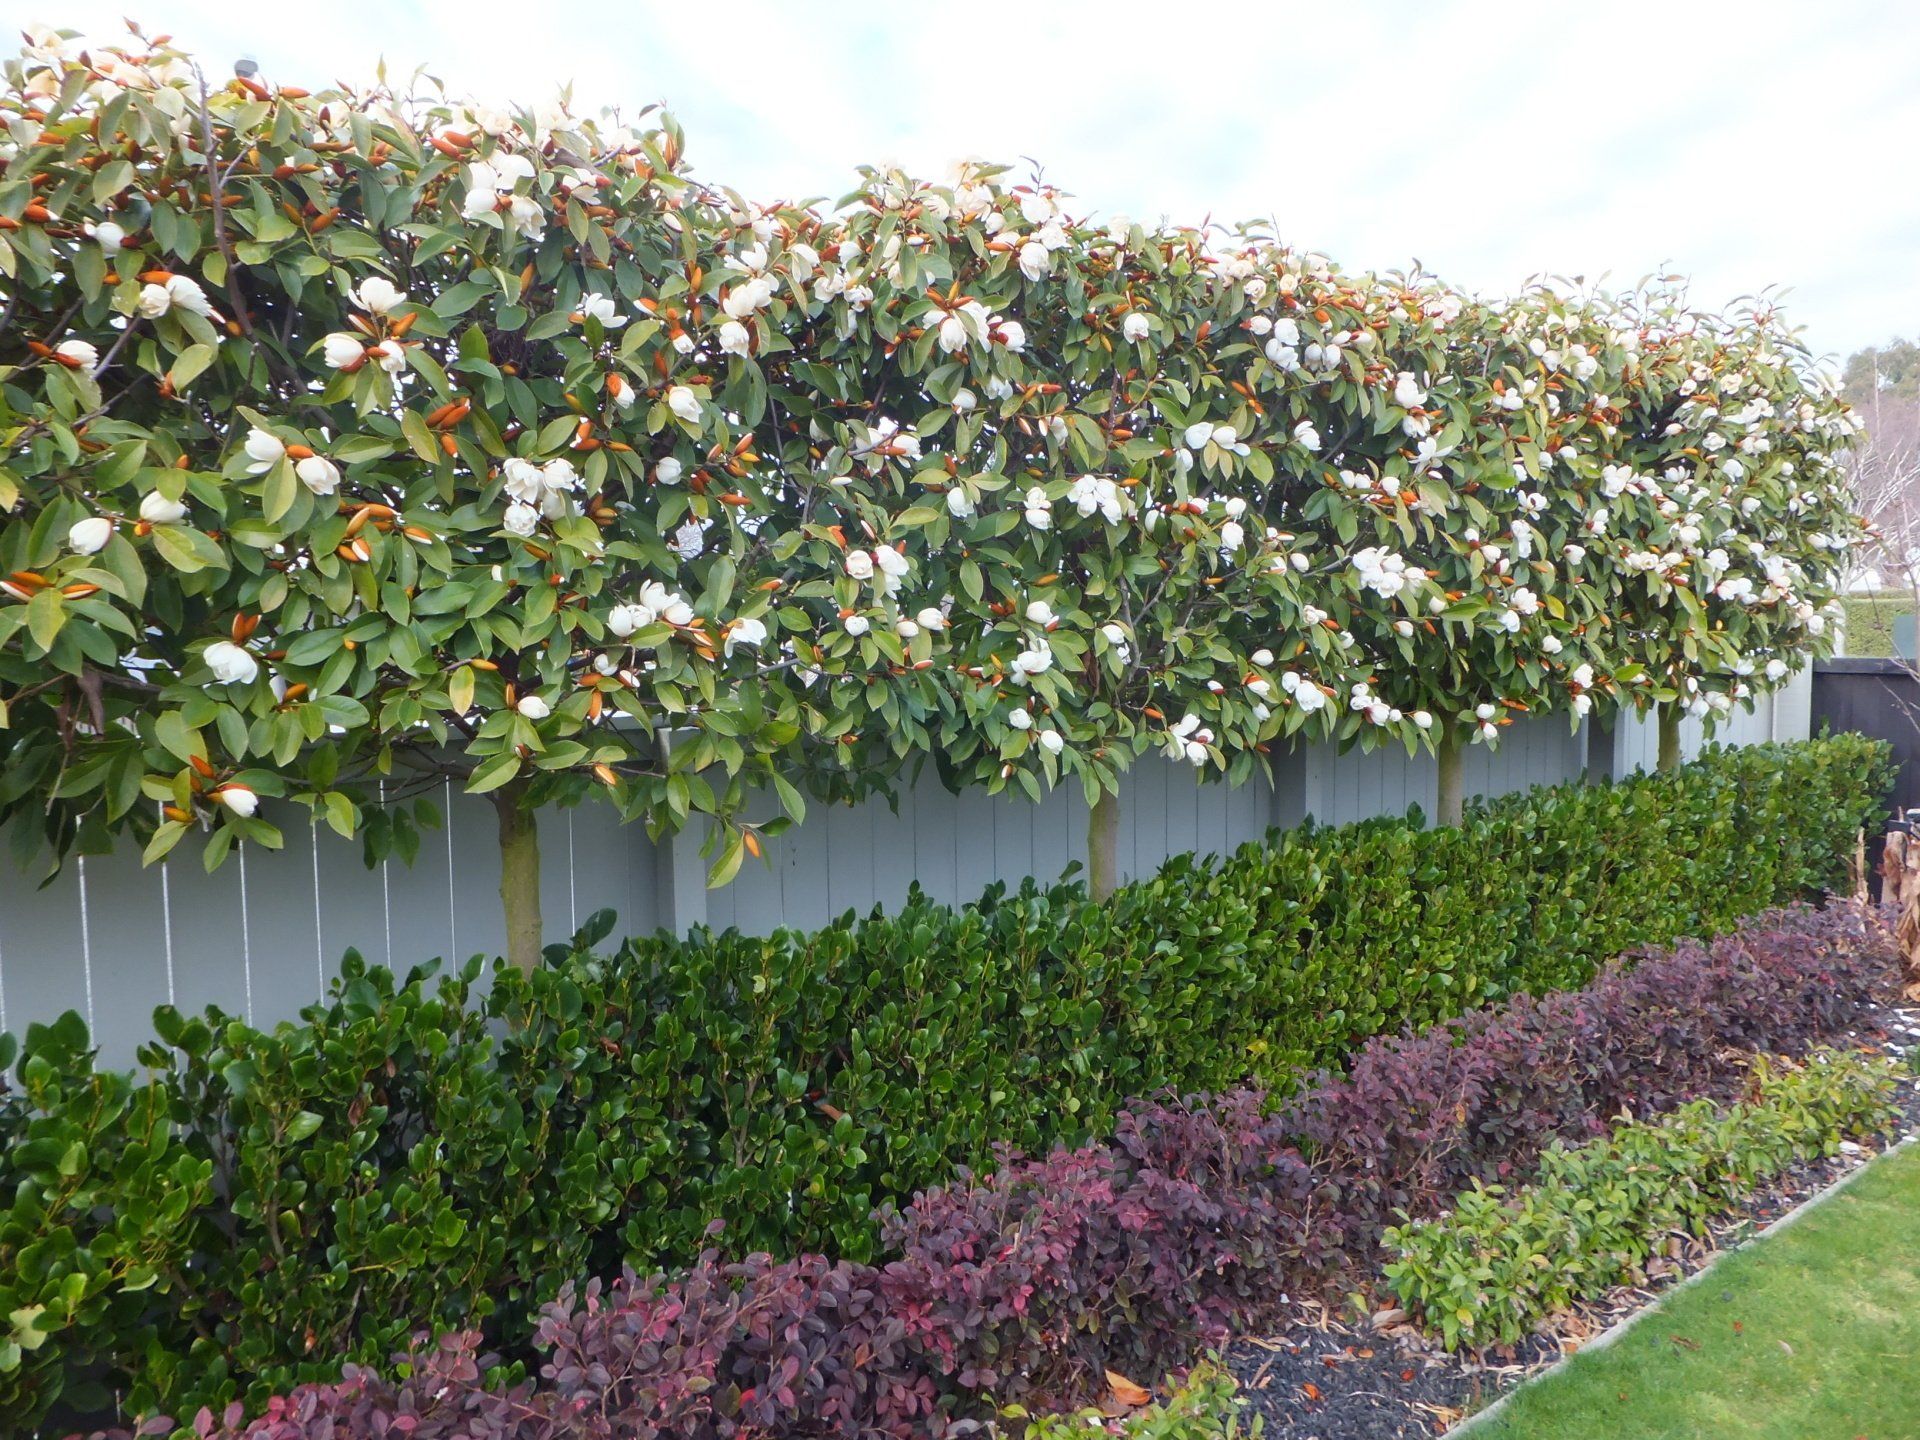
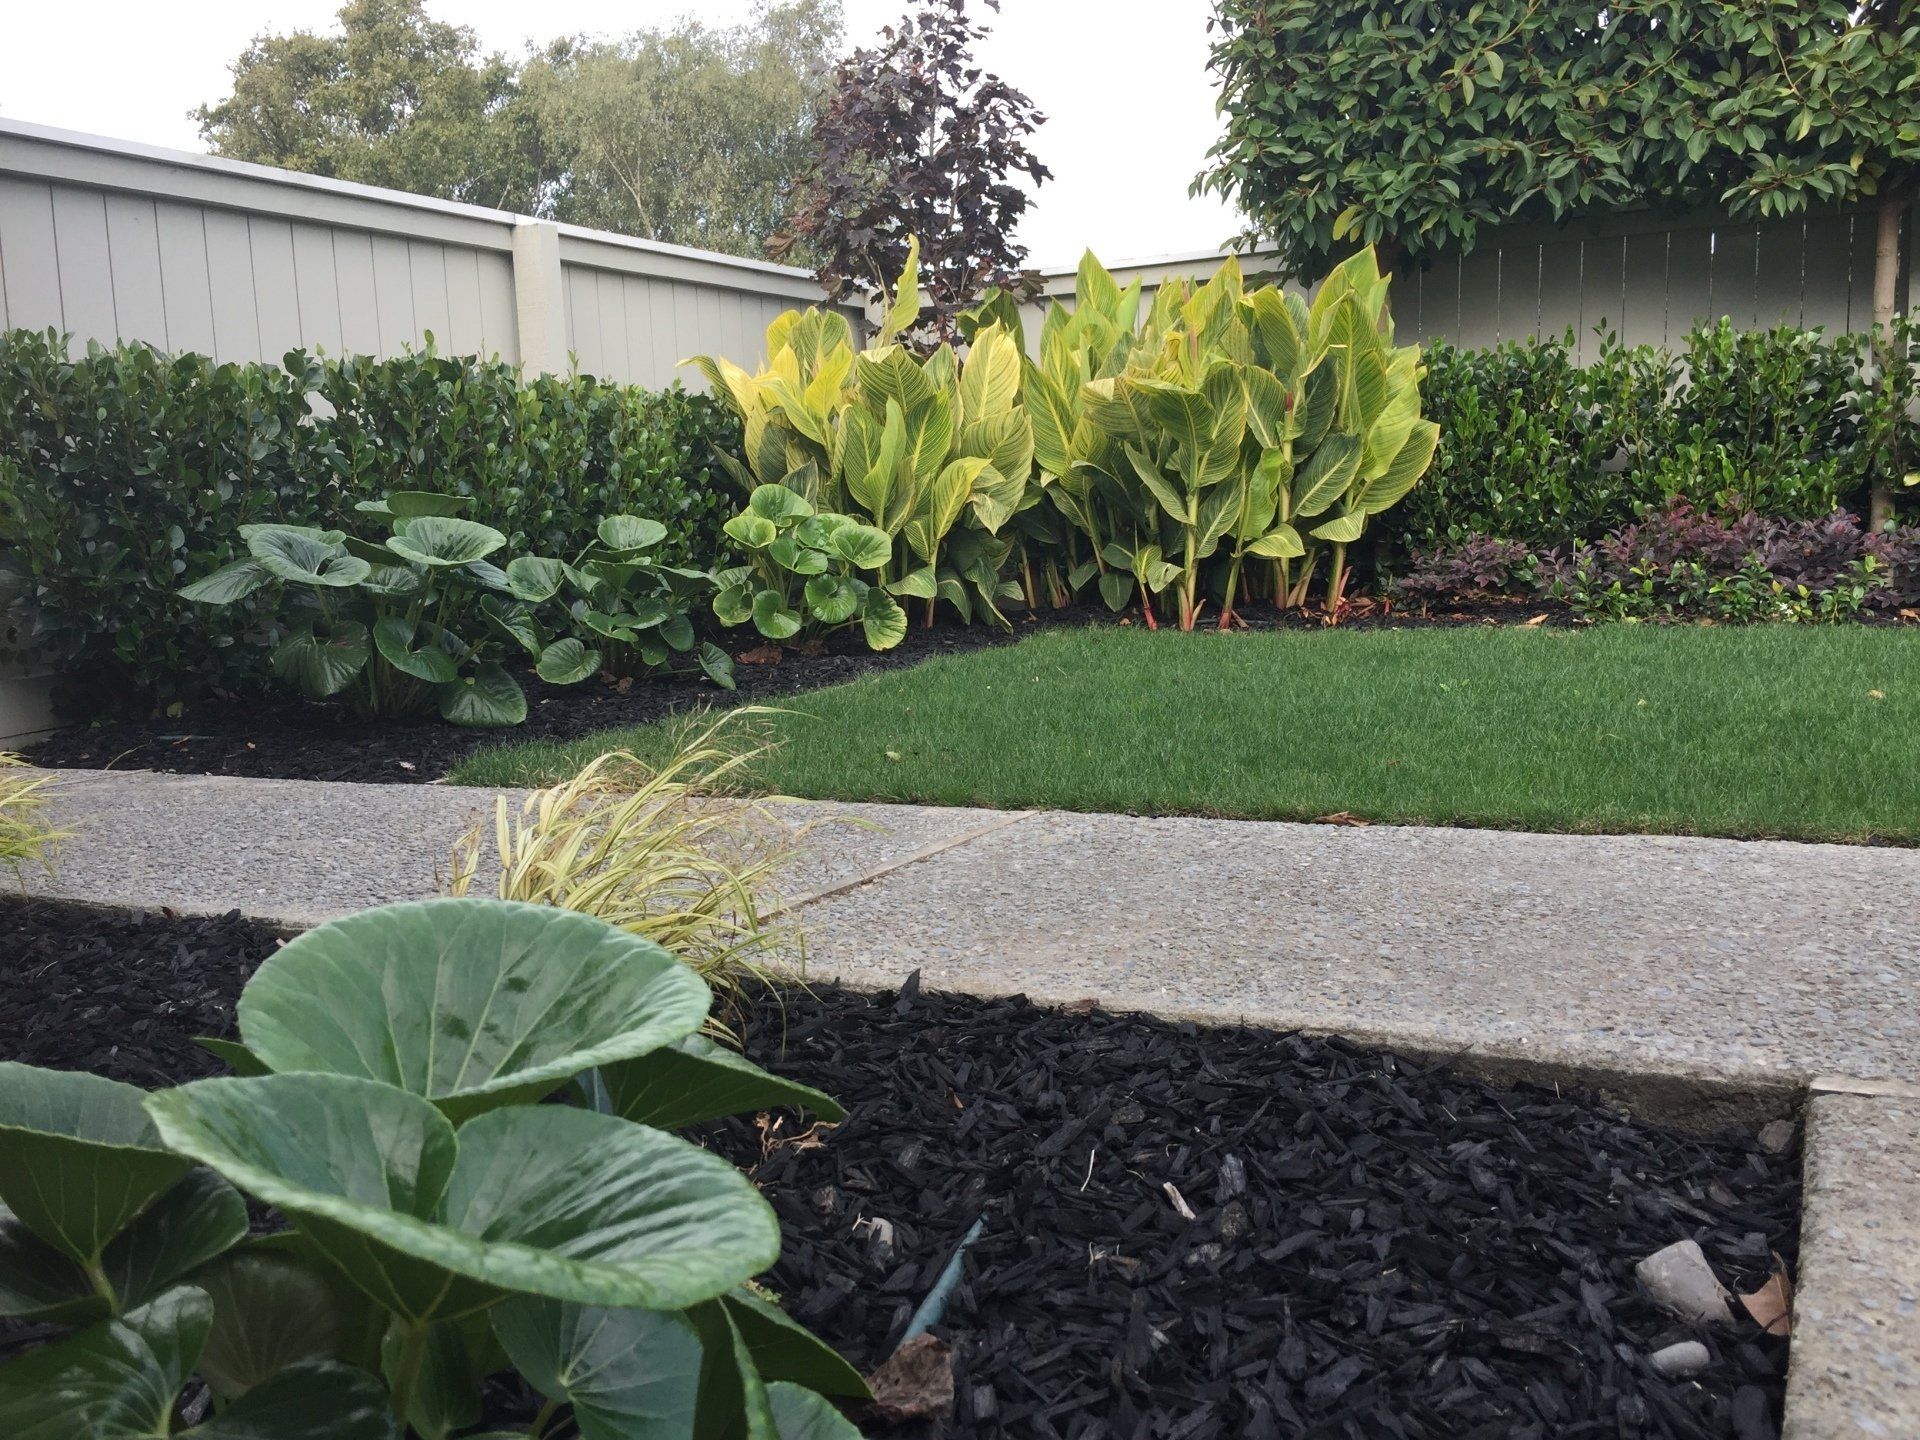
Incorporating a pleached hedge into your garden design can provide a structured, elegant backdrop that enhances your outdoor space's overall aesthetic (the image above is the street view of our show garden).
If you're considering adding this feature to your landscape, we're here to help bring your vision to life. Contact us on 027 688 4155 or email design@epiclandscapes.co.nz to discuss how we can tailor a pleached hedge to suit your garden's unique character.
Epic News